
TABLE OF CONTENTS
- What are Burned-In Subtitles?
- When to Use Burned-In Subtitles?
- Before you Begin
- Step 1 - Open Subtitle Export Options > Burn into Video
- Step 2 - Accessing the Rendered Video
- Step 3 - Exporting clips with burned in Subtitles
- Frequently Asked Questions
- Related articles
What are Burned-In Subtitles?
Burned-in subtitles, also known as hardcoded subtitles or open captions, are permanently rendered into the video image. They are always visible and cannot be switched off by the viewer.
Burned-in subtitles are useful when a delivery channel does not support separate subtitle files, when subtitles must always be displayed, or when you need precise control over their font, colour, background and positioning.
Limecraft creates a new rendered version of the original clip with the subtitles encoded into the picture. The original media remains available separately.
Where viewers need to select a language or turn subtitles on and off, we recommend exporting the subtitles as a separate file instead.
When to Use Burned-In Subtitles?
Burned-in subtitles are useful when subtitles must remain visible on every device or platform, regardless of the viewer’s playback settings. They are particularly suitable for social media, review copies, promotional videos, or distribution channels that do not support separate subtitle files.
They can also be used when you need precise control over the appearance and positioning of subtitles, for example to apply a specific font, colour, background, or brand style. Because burned-in subtitles cannot be switched off or replaced by another language, a separate subtitle file is usually preferable when viewers need more flexibility.
Before you Begin
Please check the following
- Verify which Limecraft subscription plans include subtitle burn-in (Pro, Team or Enterprise)
- Confirm that the feature has been enabled by the Account Administrator.
- Finish editing the subtitles or import an existing subtitle file.
- Check the subtitle presets before rendering.
Step 1 - Open Subtitle Export Options > Burn into Video
After you have finished editing the subtitles or upon successful import of existing subtitles, you have the option to create a new version of the clip with encoded subtitles.
Use the export function and select 'Burn into video'.

Before you starting the workflow, you will need to indicate the input and output encoding profiles.

"Input source" refers to the version of the clip that you want to use as source. In particular, you might want to use the highest possible video resolution to avoid encoding artefacts. When using a high-resolution version which is on local storage, it will first have to be retrieved and staged as online storage. Alternatively, you can use the web proxy as a shortcut.
"Output encoding profile" refers to the encoding profile and file format of the new clip with encoded subtitles. If you intend to use the new clip for online distribution, 'Web Proxy HD' will serve the purpose in most cases. If the new version is intended to be distributed via television or VoD, you might want to use a video encoding profile that allows a higher image resolution. Please refer to this article for an overview of supported file formats..
Upon choosing the right input and output encoding format and clicking ‘Start’, the encoding job will start. The time it takes depends on the parameters chosen in the dialog and the duration of the video.

Once the job completes, it will look like below.

As a result of the process, a new clip has been added to the library albeit connected to the original asset. The final dialog allows you to navigate directly to the rendered clip.
Step 2 - Accessing the Rendered Video
Accessing the rendered versions via clip details
A Subtitle Burn In workflow creates a rendered clip linked to the original clip. With the tab 'Rendered Media' in the clip info screen, you can navigate between a clip and its rendered clips.
Note: If the clip is not a rendered clip, or hasn’t been rendered, you will not see the ‘Rendered Media’ tab.

If you click the name in a table row, it will lead you to that particular rendered clip.
Accessing rendered clips via the library
To get an overview of all rendered versions in the library view, there is an extra section in the left sidebar of the library which lets you choose between "All clips", "Original Clips" and "Rendered Clips".

Accessing the rendered versions of a particular clip from the library
On a clip that contains renders, it is possible to show a panel with all the rendered clips by clicking the render button:

Looking for rendered versions via the Search Engine
To access the rendered versions of clips via the search engine, you can use the following filters.
- Render Type The type of render, intended for future use
- Rendered Subtitle Language To search based on the language.
- Rendered Subtitle Preset To search based on which subtitle preset was used.
- Render Gives you the option between 'has renders' and 'is render'.

Step 3 - Exporting Clips with Burned-In Subtitles
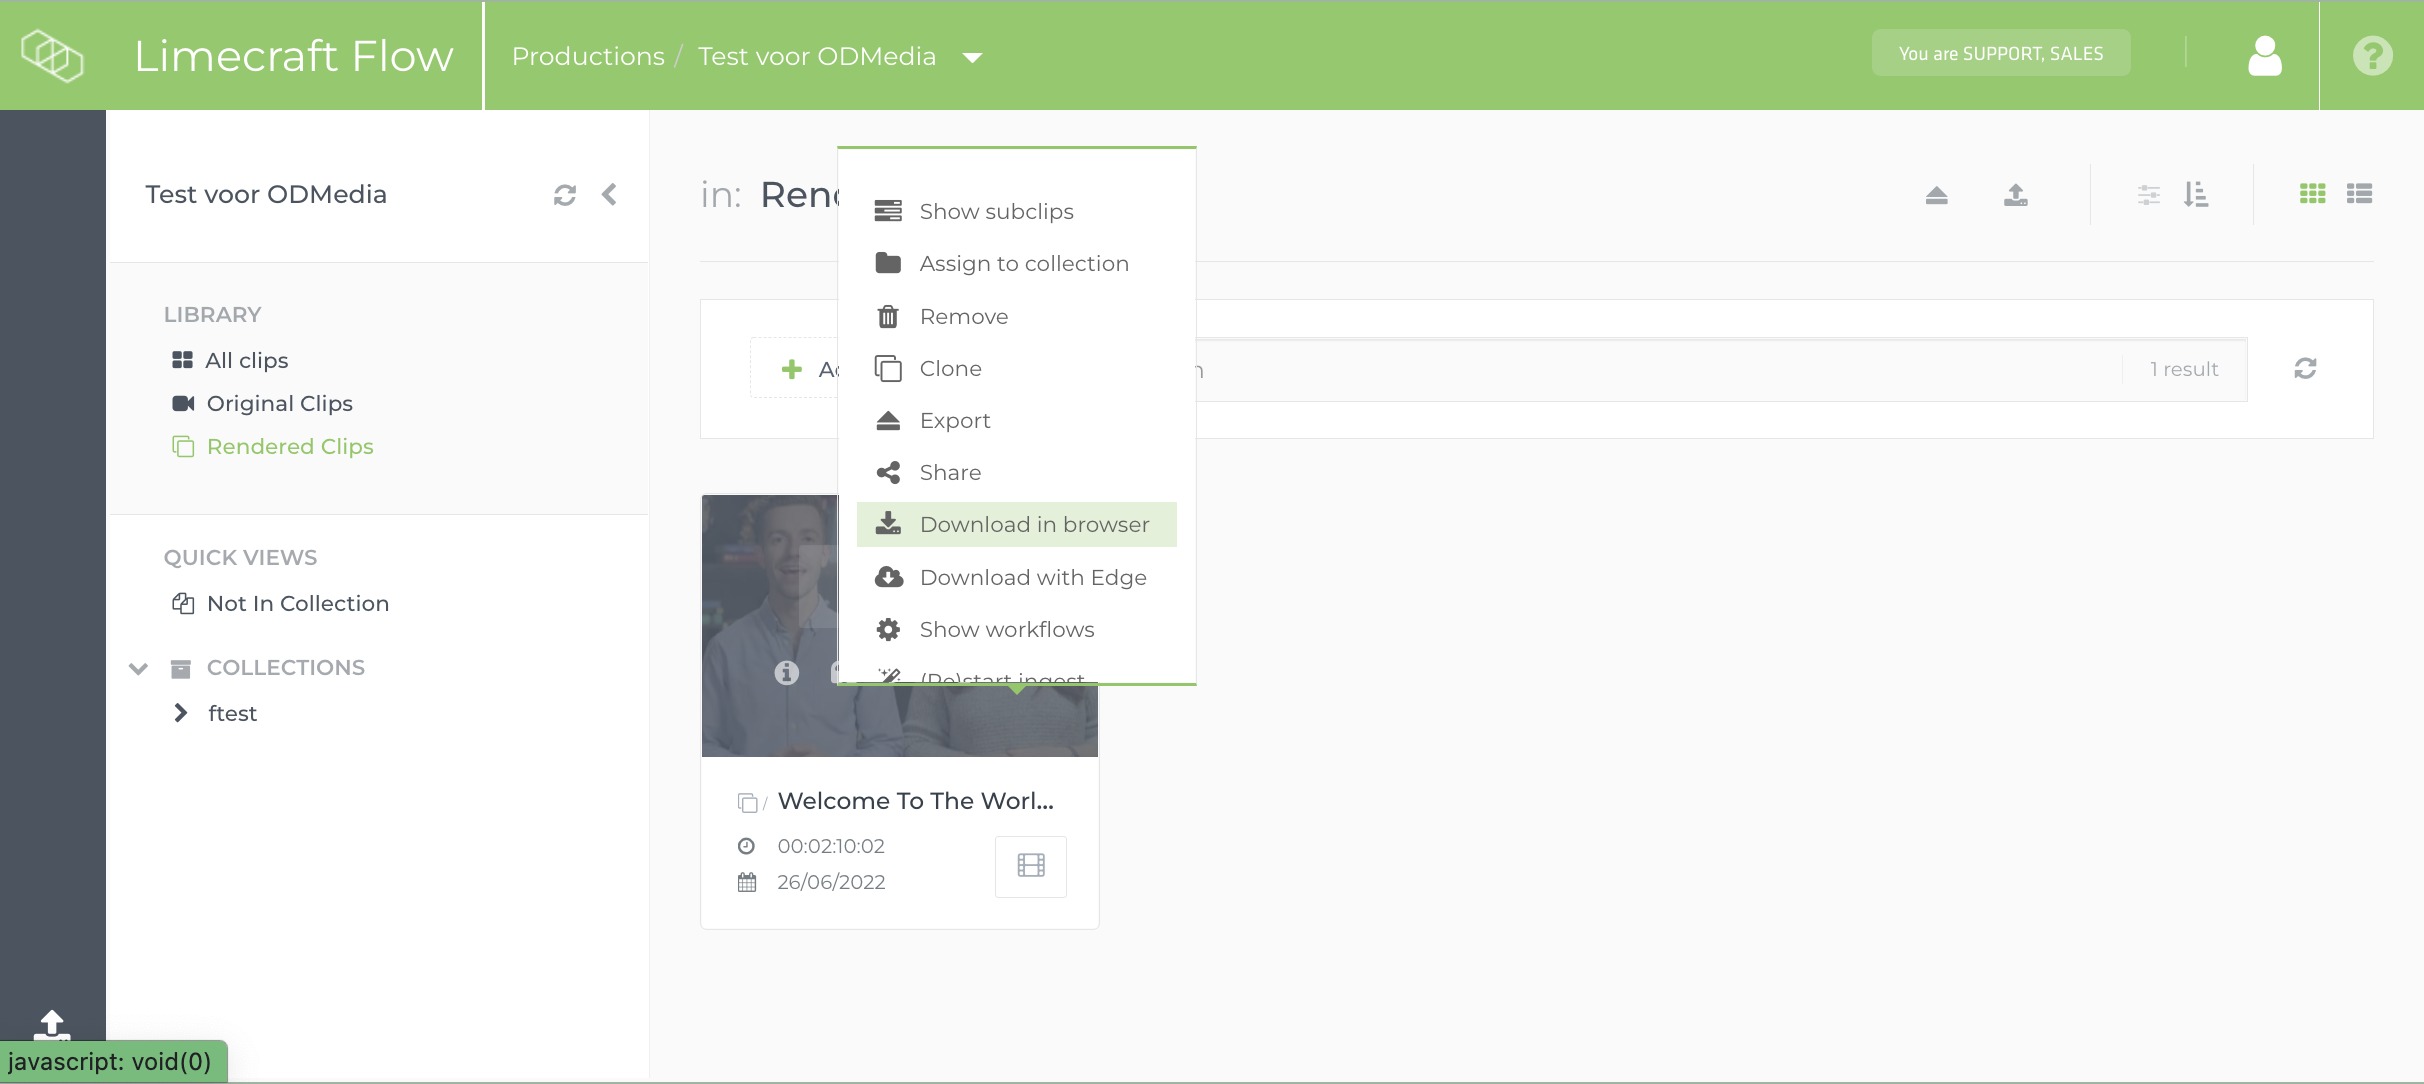
Upon successful creation of rendered versions of clips with encoded or burned in subtitles, you can export one or more versions using one of the various download options within the library or the clip detail. Alternatively, it is also possible to use them for sharing online (without first having to download the clip).
Frequently Asked Questions
Can viewers turn burned-in subtitles off?
No. Burned-in subtitles are permanently included in the video image and are always visible.
What is the difference between burned-in subtitles and a subtitle file?
Burned-in subtitles are part of the video image. A separate subtitle file is displayed by the video player and can usually be enabled, disabled or changed.
Does Limecraft modify the original video?
No. Limecraft creates a separate rendered clip connected to the original media.
Which input source should I use?
Use the highest-quality available source when image quality is important. A web proxy can be used when faster processing is preferred.
Where can I find the rendered video?
You can access it through the Rendered Media tab, the Rendered Clips Library filter, the renders panel or the Library search filters.
Why does the rendered video have lower image quality?
The result depends on the selected source and output encoding profiles. Link this answer to the existing article about improving burn-in video quality.
Related articles
- How to adapt the design of the subtitles: How to configure Subtitle Presets or 'Spotting Rules'