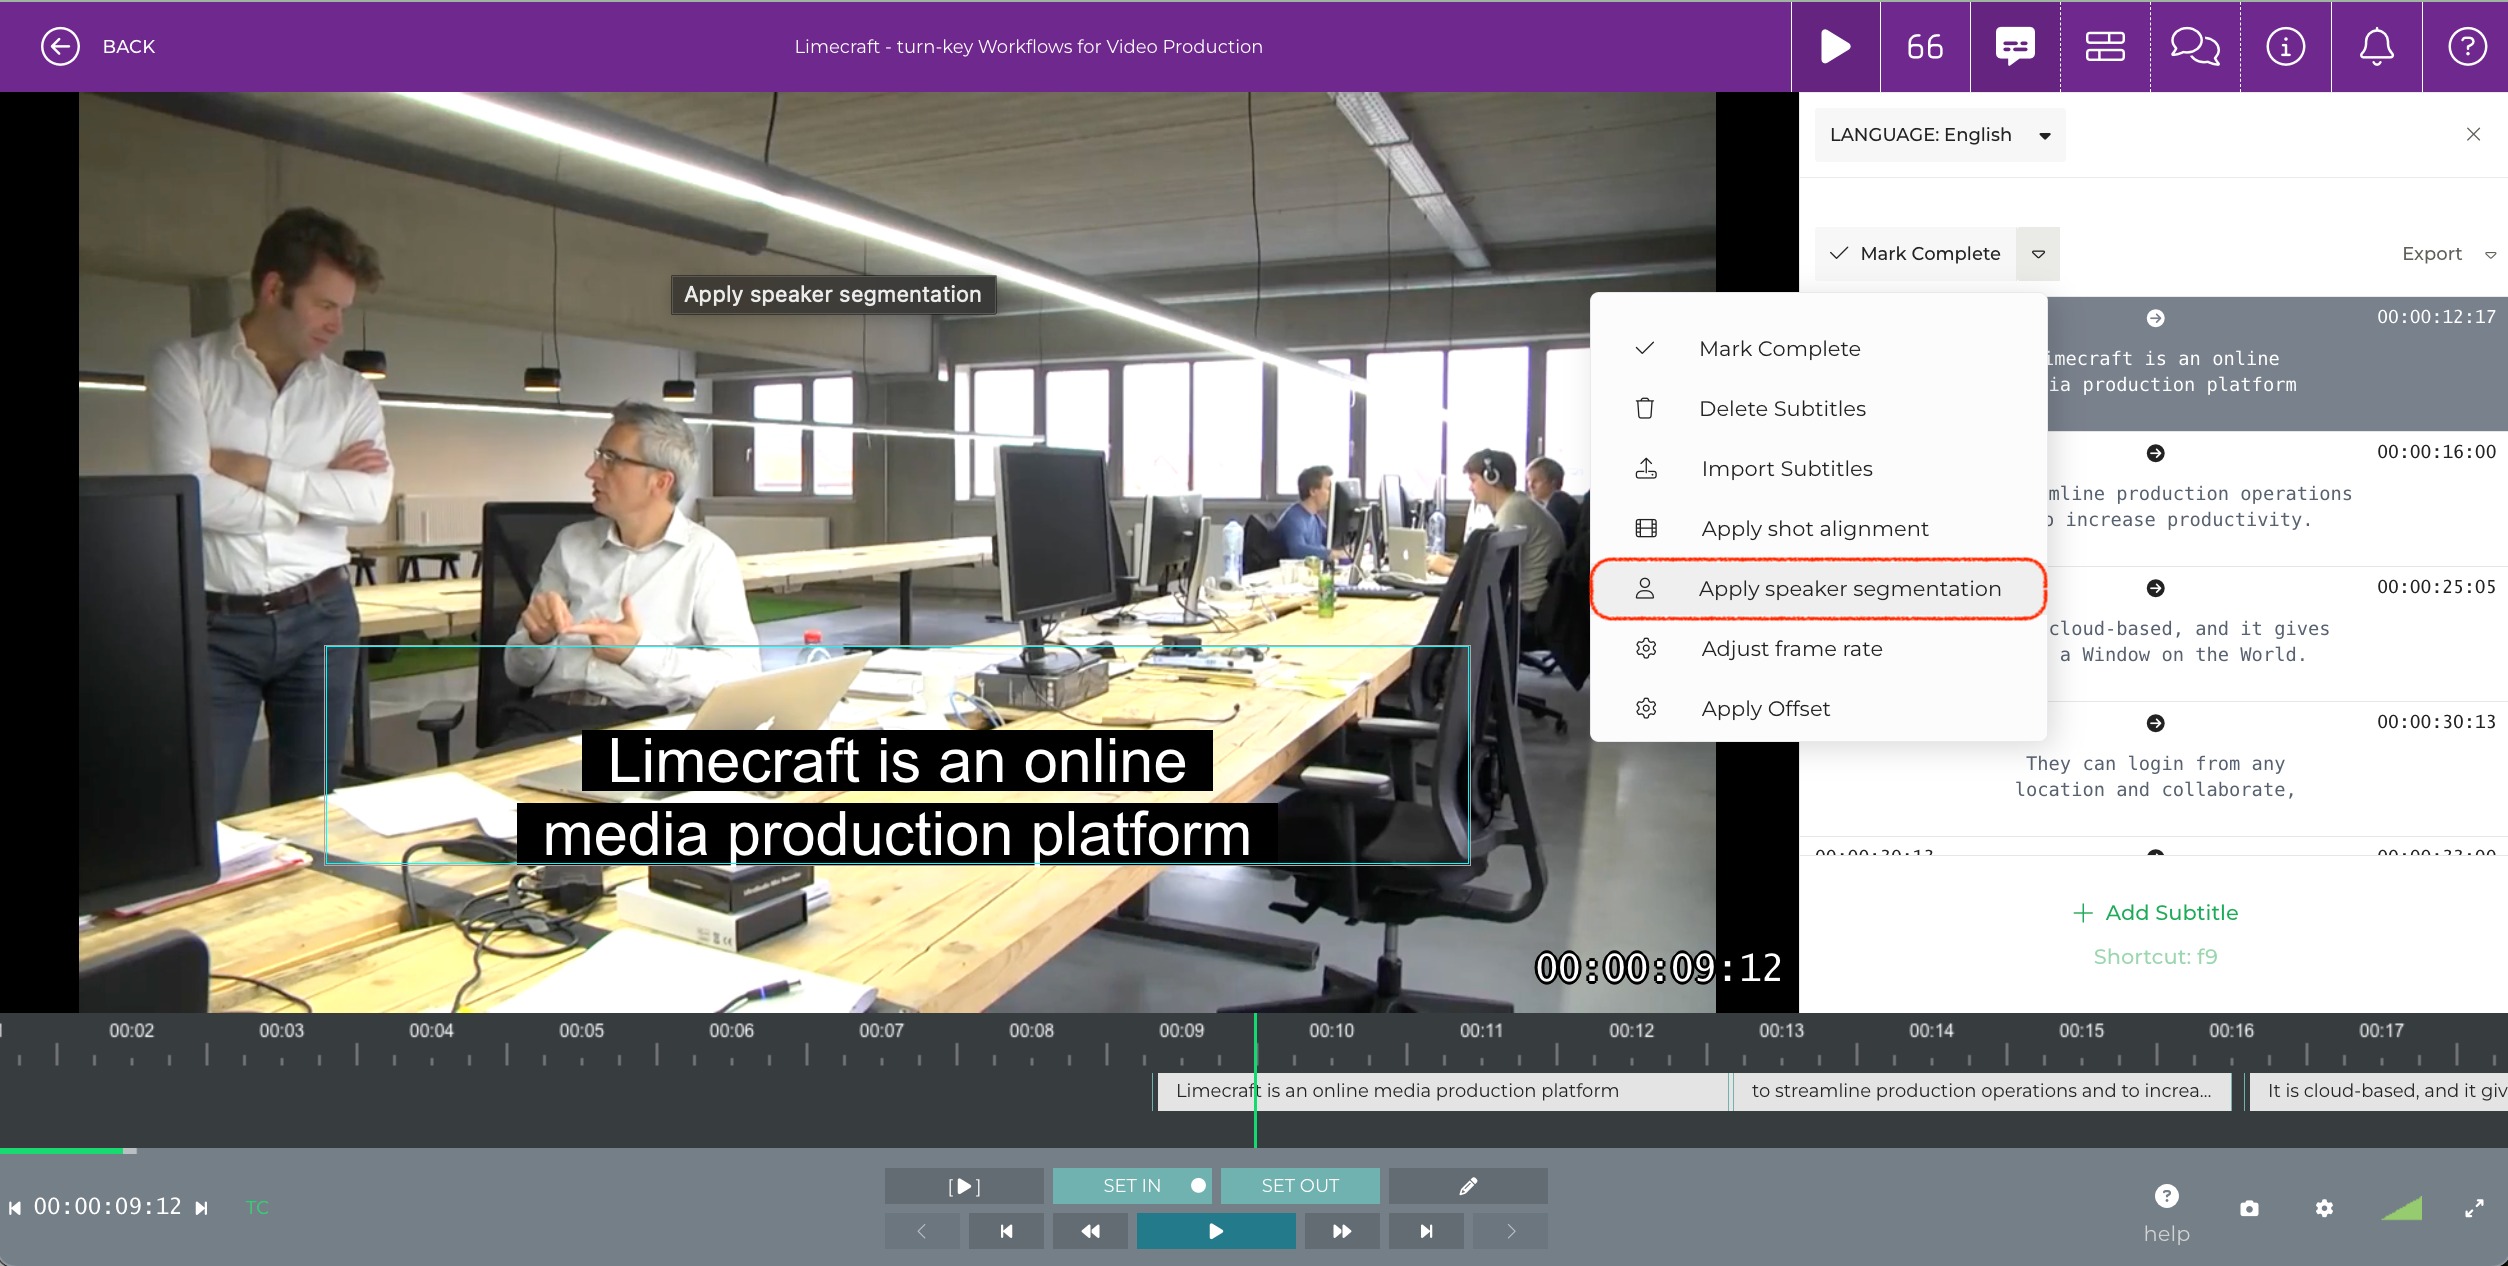
Speaker change indication is a key accessibility requirement in professional subtitling workflows. Limecraft supports efficient speaker change handling across AI-assisted subtitling, manual subtitling, and imported subtitle files by combining transcript-based speaker segmentation with configurable subtitle presets. This article explains how to apply, optimise, and retroactively add speaker cues on existing subtitles at scale.
TABLE OF CONTENTS
- What are Speaker Cues or Speaker Change Indications in Subtitling?
- Why Is it Important to Indicate Speaker Changes?
- How Does Limecraft Support Speaker Change Indication?
- Before you Begin
- Applying Speaker Change Indications
- Frequently Asked Questions about Speaker Change Indication in Subtitling
- What is speaker change indication in subtitling?
- Why are speaker changes important for accessibility?
- Does Limecraft support speaker change indication for AI-assisted subtitling?
- Can speaker changes be added to existing or imported subtitles?
- Do speaker change indicators work for manually created subtitles?
- How are speaker changes visually indicated in Limecraft?
- Is speaker change indication required to meet accessibility regulations?
What are Speaker Cues or Speaker Change Indications in Subtitling?
Speaker change indications in subtitling refer to the visual indication that the person speaking has changed within or between subtitle cues. This is typically shown using characters such as a dash, different colours, or other formatting conventions, allowing viewers to distinguish between speakers when dialogue alternates or overlaps.

Why Is it Important to Indicate Speaker Changes?
Clearly indicating speaker changes is essential for accessibility and comprehension, particularly for viewers who are deaf or hard of hearing. Accurate speaker identification helps audiences follow conversations, understand who is speaking at any given moment, and interpret dialogue correctly in multi-speaker scenarios, such as interviews, debates, or drama.
Speaker change indication is particularly important in multi-speaker content such as interviews, debates, panel discussions, and drama. It is recommended whenever speaker attribution cannot be reliably inferred from context alone, especially for accessibility-focused deliveries and regulatory compliance.
How Does Limecraft Support Speaker Change Indication?
Limecraft supports speaker change indication both during AI-assisted subtitling and when importing existing subtitle files.
Speaker changes can be indicated using configurable subtitle presets that apply characters (such as a dash) or colour-based differentiation, depending on delivery requirements. When subtitles are generated using AI-assisted subtitling, speaker segmentation from the transcript is reused to automatically apply speaker change indication, with full control for review and correction during quality control.
For more info, please refer to the related article on indicating speaker changes.
Before you Begin
Ensure Correct Subtitle Style - Speaker change indication is managed in Subtitle Presets of the workspace. Make sure a preset is available that reflects your timing and styling requirements.
Use the correct Subtitle Preset - When importing subtitles, ensure that you are using the correct preset.
Applying Speaker Change Indications
Indicating Speaker Changes during Import of Subtitles
When importing existing subtitle files into Limecraft, speaker change indicators can be added according to the configured subtitle preset. This ensures that speaker information—such as leading dashes or colour-based distinctions—are applied consistently. Imported subtitles can then be reviewed, adjusted, or reused in subsequent steps such as subtitle versioning, localisation, or delivery, without losing speaker attribution.
Retroactively Adding Speaker Changes
In case you imported the subtitles without the option to mark up speaker changes, Limecraft allows you to add speaker change indicators retroactively by using background speaker diarisation or speaker change detection.
Based on this audio analysis, speaker indicators—such as colours or characters—can be applied automatically, reducing the need for manual identification and correction. This approach works consistently across manually created subtitles, AI-assisted generated subtitles, and imported subtitle files, helping teams improve accessibility and accuracy without redoing earlier subtitling work.

Frequently Asked Questions about Speaker Change Indication in Subtitling
What is speaker change indication in subtitling?
Speaker change indication is the visual representation of a change in speaker within subtitles, using characters (such as a dash) or colour-based differentiation. It helps viewers identify who is speaking when dialogue alternates or overlaps.
Why are speaker changes important for accessibility?
Indicating speaker changes is essential for accessibility, particularly for viewers who are deaf or hard of hearing. Clear speaker attribution improves comprehension in multi-speaker content and supports accessible media delivery.
Does Limecraft support speaker change indication for AI-assisted subtitling?
Yes. When using AI-assisted subtitling, Limecraft applies speaker change indicators automatically based on speaker segmentation in the transcript, combined with the selected subtitle preset.
Can speaker changes be added to existing or imported subtitles?
Yes. Limecraft allows retroactive speaker change indicators to be applied when importing subtitle files and also supports retroactively adding speaker changes using background speaker diarisation or speaker change detection.
Do speaker change indicators work for manually created subtitles?
Yes. Speaker change indication can be applied consistently across manually created subtitles, AI-assisted generated subtitles, and imported subtitle files.
How are speaker changes visually indicated in Limecraft?
Speaker changes can be indicated using configurable subtitle presets that apply characters (such as dashes) or colour-based differentiation, depending on delivery and accessibility requirements.
Is speaker change indication required to meet accessibility regulations?
Speaker change indication is a recognised best practice for accessible subtitling and plays an important role in meeting accessibility requirements, such as those defined under the European Accessibility Act (EAA).
